5 Best Arlo Solar Panel Cameras
From leading brands and best sellers available on the web.By clicking on a link to a third party's website, log data is shared with that third party.
Buying Guide for the Best Arlo Solar Panel Cameras
When choosing a solar panel for your Arlo security camera, it’s important to understand how the solar panel works with your camera to keep it charged continuously, especially if you want to avoid manual recharging. The best solar panel for your setup will depend on your camera model, your location’s sunlight exposure, and your installation preferences. To make an informed decision, you should get familiar with the main specifications of solar panels compatible with Arlo cameras, as each one can affect performance and suitability for your environment.CompatibilityCompatibility refers to whether the solar panel is designed to work with your specific Arlo camera model, such as Arlo Pro, Pro 2, Pro 3, Pro 4, or Ultra. Not all solar panels are universal, so it’s crucial to check if the panel matches your camera’s charging requirements and connector type. Some panels only work with certain models due to voltage or plug differences. Choosing a compatible solar panel ensures that your camera receives the right power and operates safely, so always confirm model support before making a purchase.
Power Output (Wattage)Power output, measured in watts, tells you how much energy the solar panel can supply to charge your Arlo camera. Panels come in different wattages, typically ranging from 2W to 5W for security cameras. Higher wattage means more charging power, which is useful if your camera is in heavy use or a spot that gets less direct sunlight. A basic 2W panel usually suffices for low-traffic areas with lots of sun, while a higher output panel is better for busier cameras or those in shadier spots. Consider your camera’s activity level and the amount of sun your panel will receive to choose the right output.
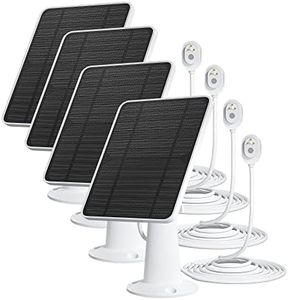
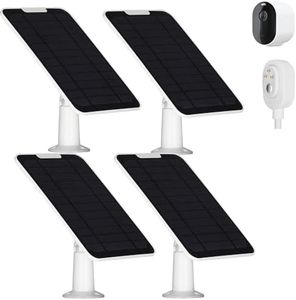
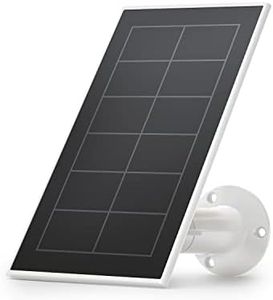
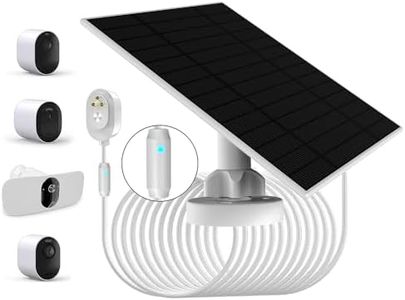
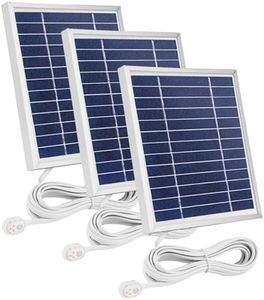
Panel Size and Mounting OptionsPanel size affects how much sunlight the solar panel can collect, with larger panels generally being able to capture more sunlight and charge faster. However, a bigger panel may be harder to place discreetly or fit in tighter spaces. Mounting options refer to the types of brackets or mounts provided, which affect how and where you can install the panel. Adjustable brackets are useful for tilting the panel toward the sun, while fixed mounts are simpler but offer less flexibility. Choose a panel size that fits your installation area and a mount that suits your location’s sunlight angles.
Cable LengthCable length indicates how far you can place your solar panel from your camera, which is important if your ideal sunlit spot is not right next to the camera. Solar panels offer cable lengths typically from 6 feet up to 20 feet or more. Longer cables give you flexibility to position the panel in optimal sunlight, even if your camera is mounted in a shaded area. Assess the distance between your camera and the sunniest installation spot to pick a panel with a cable length that meets your setup needs.
Weather ResistanceWeather resistance describes how well a solar panel can withstand outdoor conditions, such as rain, snow, and high temperatures. Look for panels rated as weatherproof or waterproof, often marked by terms like IP65 or IP66, which means the panel can handle rain and dust without issue. This is critical for outdoor installations where the panel will be exposed to the elements year-round. Choose a weather-resistant panel if your solar panel will face harsh weather, to ensure durability and reliable performance.