We Use CookiesWe use cookies to enhance the security, performance,
functionality and for analytical and promotional activities. By continuing to browse this site you
are agreeing to our privacy policy
10 Best Dslr Field Monitor
From leading brands and best sellers available on the web.By clicking on a link to a third party's website, log data is shared with that third party.
Related Products


Buying Guide for the Best Dslr Field Monitor
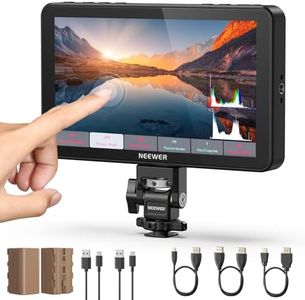
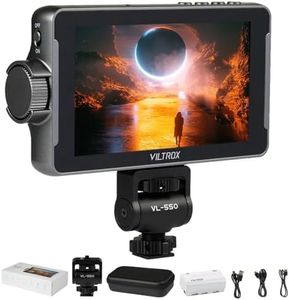
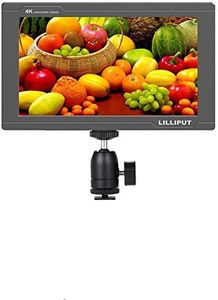
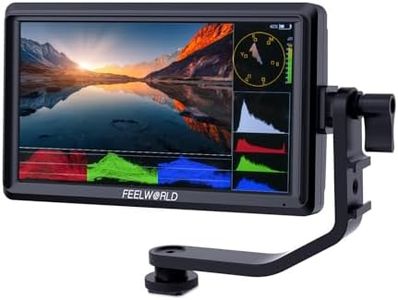
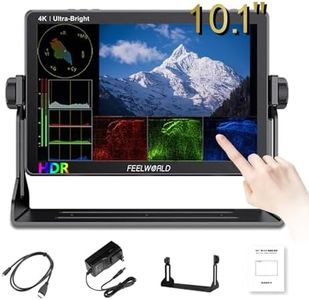
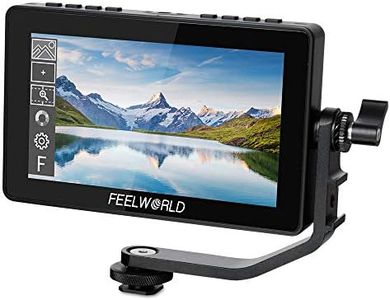
Choosing a DSLR field monitor can really improve your shooting experience, giving you a clearer, larger, and more flexible view of what your camera sees. Since a monitor can make it easier to check focus, exposure, and composition, it is an important accessory for both beginners and experienced filmmakers or photographers. Understanding the key specifications helps you pick a monitor that matches how and where you shoot—whether that's outdoors, in the studio, or on the go.Screen SizeThe screen size tells you how large the monitor is, typically ranging from 5 to 7 inches for field monitors. Bigger screens make it easier to see the fine details, which can be really helpful if you're checking focus or framing shots. However, larger monitors might be heavier and less portable. If you often work with a tripod and prioritize image clarity, a larger monitor might suit you, while a smaller screen can be better if you need to stay light and mobile.
ResolutionResolution means how many pixels appear on the screen, determining how sharp and clear the image looks. Most monitors offer resolutions like 720p up to Full HD (1080p) or even higher. Higher resolution helps you notice small details and judge focus accurately, but even lower resolutions can be enough for basic framing. If you need to check sharp focus, choose a higher resolution, but for simple composition work, lower resolutions are usually sufficient.
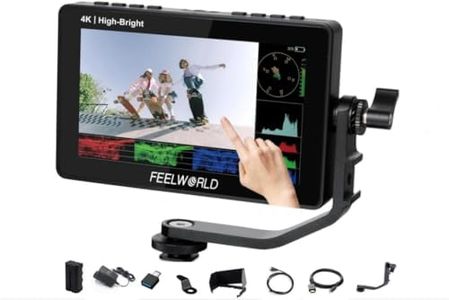
Brightness (Nits)Brightness is measured in nits and refers to how well the monitor can be seen in bright lighting, especially outdoors. Typical monitors range from 300 to 1000 nits or more. Higher brightness is important for outdoor work, so the monitor remains visible in sunlight. If you primarily shoot outside, a monitor with higher nits helps, while for studio work, brightness is less critical.
Input TypesThe input types, commonly HDMI or sometimes SDI, tell you how the monitor connects to your camera. Compatibility is key—you want a monitor with an input that matches your camera’s output. HDMI is most common for DSLRs, so check your camera’s ports and make sure your monitor matches. If you have professional video equipment, you might need SDI connections.
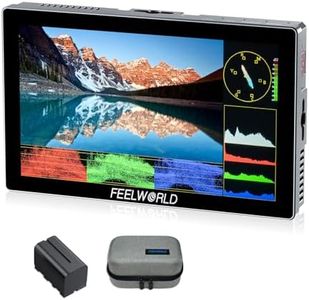
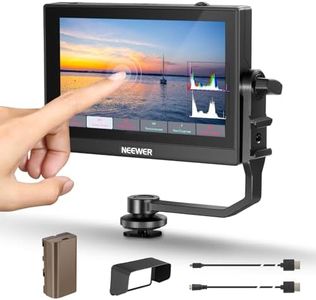
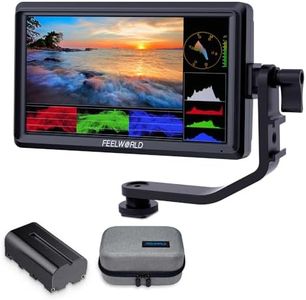
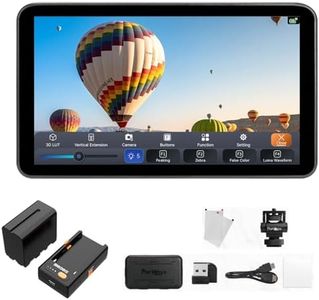
Power OptionsPower options refer to how the monitor is powered—commonly through batteries or sometimes AC adapters. Some monitors accept multiple battery types or can be charged via USB. The right choice depends on your shooting style; long shooting sessions or on-location work benefit from monitors with flexible or long-lasting power options. If you're in a controlled studio, battery life might be less of a concern.
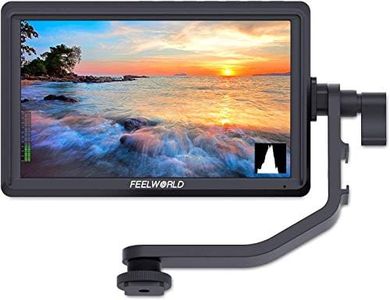
Mounting OptionsMounting options describe how the monitor can be attached to your camera rig, such as via a hot shoe mount, arm, or other bracket. If you want flexibility in angling the screen or need a stable setup for moving shots, look for monitors with sturdy, adjustable mounts. Make sure the mounting system works with your camera’s setup and any other accessories you use.
Focus and Exposure ToolsMany monitors have built-in tools like focus peaking, histograms, zebras, and false color to help you judge focus and exposure more easily. Focus peaking highlights sharp edges, while zebras and histograms help control brightness and avoid overexposure. If you often shoot in tricky lighting or need to nail critical focus, choose a monitor that includes these built-in aids.
Weight and Build QualityWeight and build quality influence portability and durability. Lighter monitors are easier to handle for handheld work but may be less robust. More durable (metal or reinforced plastic) monitors can endure rough use but weigh more. Think about how much moving and travel you do with your gear and pick accordingly—portable for run-and-gun, sturdier for heavy-duty use.