10 Best Film To Digital Converter
From leading brands and best sellers available on the web.By clicking on a link to a third party's website, log data is shared with that third party.


Related Products

Recommended lists

Top rated
Digital Converter Boxes
Buying Guide for the Best Film To Digital Converter
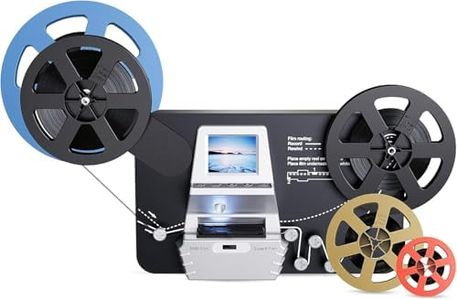
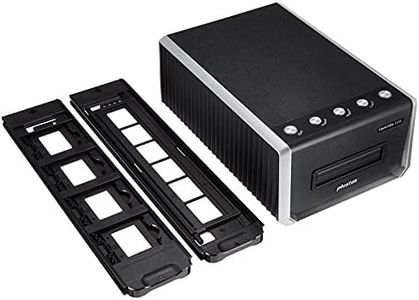
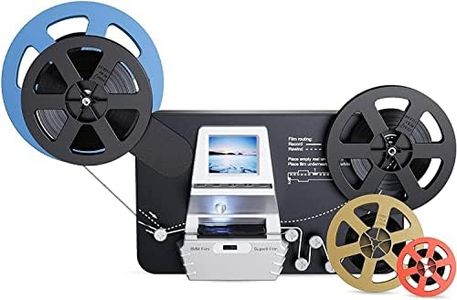
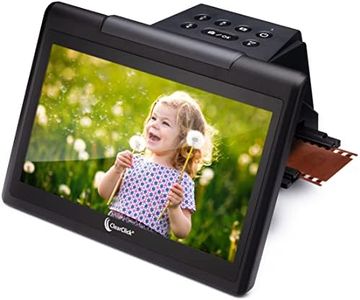
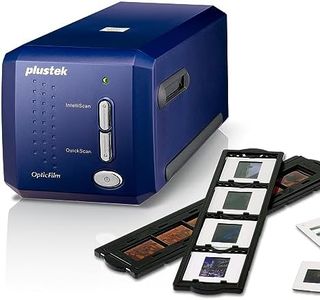
Choosing a film-to-digital converter might seem tricky at first, but understanding your needs and what features matter most can make the process much clearer. These devices turn your old film negatives or slides into digital photos, giving your memories new life in the digital age. The key is to identify what kind of film you have, how many photos you plan to scan, what quality you want, and how comfortable you are with using technology. By focusing on certain important specs, you can find a converter that matches your expectations and use case.Supported Film TypesSupported film types refers to the kinds of negatives and slides that the converter can handle, such as 35mm, 110, 126, or Super 8. This is crucial because not all converters work with every film format. When comparing models, check which film types are listed; some are only for the common 35mm, while others offer multiple adapters for various formats. If you have a mix of formats, make sure the converter covers them, otherwise you'll be limited in what you can digitize.
Optical ResolutionOptical resolution, often given in DPI (dots per inch), tells you how detailed your scans will be. High DPI produces sharper, clearer digital images. Low-resolution converters (around 1800-2400 DPI) are fine for sharing online or making small prints, while mid-range (3600-4000 DPI) is great for archiving or making enlargements, and high-end (above 4000 DPI) serves professional needs. Decide how you want to use your digital images; if it's mostly web sharing, standard resolution is fine, but preserving every detail from old photos means choosing higher DPI.
Scan SpeedScan speed indicates how long the device takes to digitize each photo. Faster devices save time, especially if you have boxes of film to process, but can sometimes sacrifice image quality. Budget models may take longer for each scan, while higher-end ones are faster. If you only have a handful of photos, speed is less important, but for larger collections, a quicker scanner is more convenient.
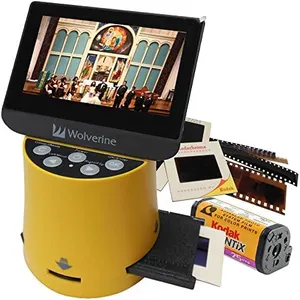
Ease of Use and SoftwareEase of use and included software determine how smoothly you can get from film to digital file. Some devices are very straightforward, letting you scan with the press of a button, while others have more complex controls or require a computer. Software can vary from simple image saving to editing and organizational tools. If you're new to this, look for simple interfaces and helpful software; tech-savvy users might prefer more robust editing features.
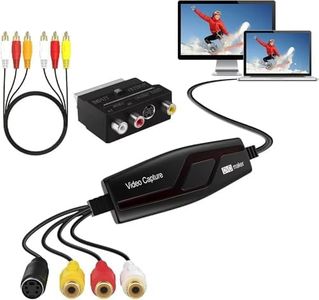
Connectivity and Storage OptionsConnectivity refers to how the converter saves or transfers digitized photos. Some store images directly on memory cards, others connect to a computer via USB, and a few offer wireless options. Think about your workflow: if you want to scan without a computer, choose models with SD card support. For seamless transfer and editing, USB or Wi-Fi might be preferred. Matching the storage and transfer method to how you'll use and manage your photos will make the process much smoother.
Color Correction and Editing FeaturesColor correction and editing functions help fix faded colors or adjust brightness and contrast during or after scanning. Some converters have automatic correction features, while others allow for manual tweaks or come with software for more in-depth editing. If your film is old or discolored, built-in correction can be hugely helpful. If you want to perfect every image, look for devices or software that give you control over corrections.