5 Best Kodak Slide Scanners
From leading brands and best sellers available on the web.By clicking on a link to a third party's website, log data is shared with that third party.


Recommended lists

Top rated
Slide Scanners
Buying Guide for the Best Kodak Slide Scanners
Choosing the right slide scanner is important when you want to preserve and digitize your old film slides or negatives. These devices allow you to convert physical photos into digital files, making them easier to share, store, and edit. When selecting a slide scanner, it's helpful to understand the key specifications, so you can make a choice that matches your needs and the quality of results you expect.Resolution (DPI)Resolution, usually measured in DPI (dots per inch), tells you how sharply your scanner can capture details from your slides. A higher DPI means more detail and clearer enlargements, which is important if you plan to print your scanned images or zoom in to see fine aspects. Scanners commonly range from 1800 to 7200 DPI. For viewing on screens or basic prints, 1800-2400 DPI is enough. If you want to archive your photos or print large copies, look for 3200 DPI or higher. Think about what you'll use your scanned images for to choose the right DPI.
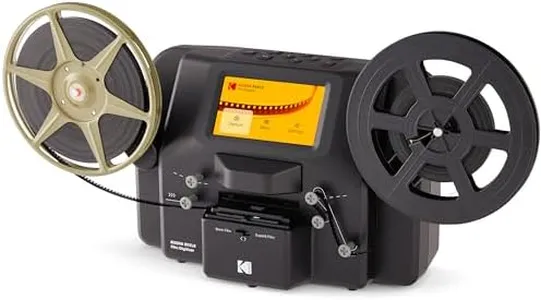
Type of Media SupportedThis spec tells you which kinds of film or slides the scanner can handle, such as 35mm slides, 126 film, 110 film, or medium format. Some scanners only work with one type, while others are more versatile. Before picking a scanner, check what kinds of film or slides you want to digitize. If you have a mix of formats, choosing a model that supports all of them saves time and effort.
Scan SpeedScan speed measures how quickly the scanner converts each slide into a digital file. Some scanners take several seconds per slide, while others are much quicker. If you have a large collection, a faster scan speed can save hours of work. For small collections or occasional use, slower speed is usually not a problem. Consider how many slides you plan to scan in total when thinking about this feature.
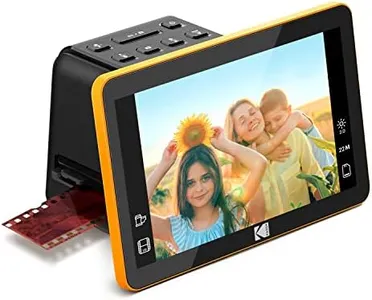
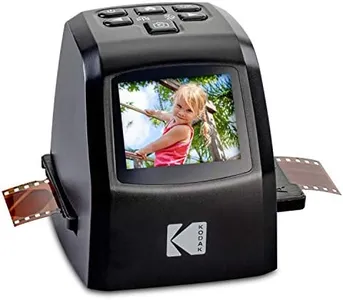
Connectivity and File OutputThis refers to how the scanner connects to your computer or storage device and what kind of digital files it creates (like JPEG, TIFF, or RAW). Some scanners need to be connected to a computer via USB, while others can save files directly to an SD card. If you want convenience and flexibility, look for a scanner that allows standalone use and offers file formats suitable for your needs. For casual sharing, JPEG is fine, but for editing and archiving, TIFF is better.
Image Adjustment FeaturesMany scanners include built-in tools like dust removal, color correction, or brightness adjustment. These can help improve the quality of your scans and save you time on editing later. If your slides are old and faded, features for color and exposure correction might be useful. If you want more control, pick a scanner that offers manual adjustments in addition to automatic ones.
Ease of UseThis includes how simple it is to load slides, navigate menus, and set up the scanner. Some devices are designed to be user-friendly with intuitive controls, clear instructions, and quick slide-loading mechanisms. If you’re new to scanning or want to avoid complicated setups, prioritize ease of use in your decision-making. Reading user reviews or checking demos can help you gauge this aspect.