10 Best Laser Level For Ceilings
From leading brands and best sellers available on the web.By clicking on a link to a third party's website, log data is shared with that third party.
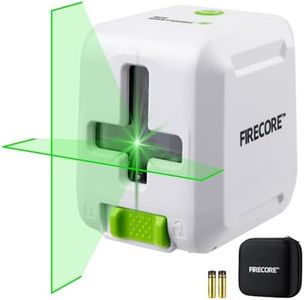
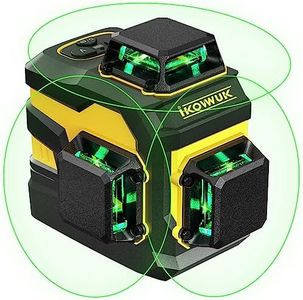
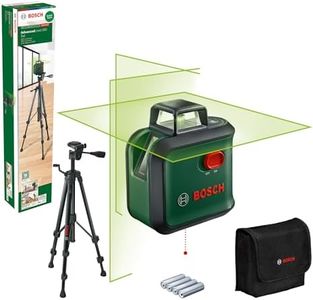
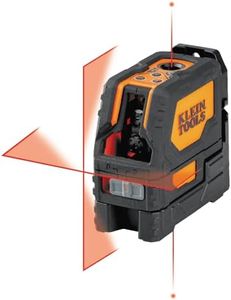
Related Products

Buying Guide for the Best Laser Level For Ceilings
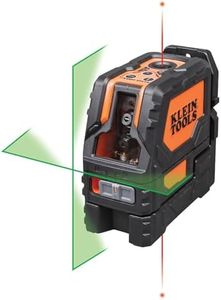
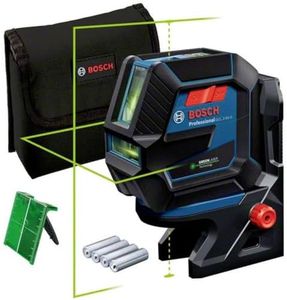
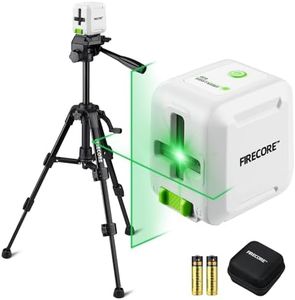
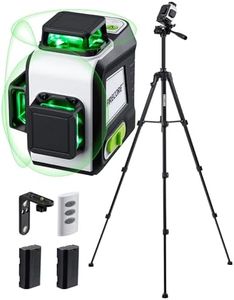
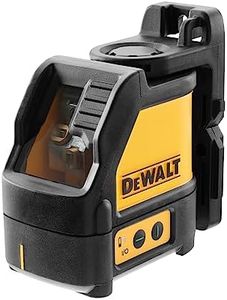
Choosing a laser level for ceiling work can make your projects much faster and more accurate. The right tool helps you mark reference points, draw straight lines, and ensure consistency throughout the room. When shopping for a laser level, it’s helpful to understand the main features and how each one might fit your specific needs, especially for overhead work like ceilings. By focusing on the key specifications, you can find a tool that matches your project demands and ensures a smoother workflow.Laser Projection TypeThe laser projection type refers to the pattern that the laser creates—dot, line, or cross lines. For ceiling work, line and cross line lasers are ideal because they provide visible, straight references for aligning installations like panels, lights, or tiles. Dot lasers are more suited for transferring points up or down. When choosing, consider the complexity of your job: if you need just a straight line, a line laser is enough; for intersecting lines or grid layouts, a cross line laser offers more functionality.
Self-leveling FeatureSelf-leveling means the laser automatically finds horizontal or vertical level, reducing manual adjustments and human error. Non-self-leveling lasers require you to align them yourself, which can lead to inaccuracies on ceilings. For projects with demanding accuracy, especially on uneven surfaces, a self-leveling laser level is preferred. If you need precision and want to save time, choose a model with a reliable self-leveling system.
Laser Visibility Range and BrightnessVisibility range is how far the laser line can be clearly seen, and brightness describes how visible the line is under different lighting. For ceilings in large or well-lit rooms, a laser with a greater range and higher brightness is crucial for seeing the lines from farther away or in bright conditions. Consider the spaces you’ll mostly work in—small, dim rooms may require less range, while large or sunny spaces need stronger, more visible lasers.
Mounting OptionsMounting options dictate how you can secure the laser to surfaces, including clamps, tripods, magnetic mounts, or ceiling mounts. For ceiling work, having flexible and stable mounting is essential for keeping the laser steady and at the right height. Think about how you'll set up: if you often need to suspend the unit, look for ceiling or magnetic mounts; for floor-to-ceiling work, a tripod adds versatility.
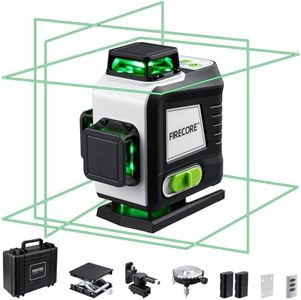
Number of Planes and 360-Degree ProjectionThis specification tells you how many flat surfaces (planes) the laser can create—horizontal, vertical, or both—and whether it can project a full 360-degree line around the room. For ceiling projects that require continuous reference lines, a 360-degree laser makes setup easier and eliminates the need for repositioning. Consider whether you need this feature for wrapping lines around a room or just localized spots.
AccuracyAccuracy is how closely the laser’s lines match true level or plumb, usually stated in millimeters or fractions of an inch per a certain distance. Higher accuracy is important for tasks where precision is critical, like tiling or detailed grid layouts on ceilings. For basic marking, a lower accuracy level may suffice; for professional or detailed finishing, aim for high accuracy.
Power Source and Battery LifeLaser levels can be powered by disposable batteries, rechargeable batteries, or even plugged into the mains. Battery life affects how long you can work between charges or battery changes, which is especially important on longer jobs or in areas without easy power access. Pick a model based on how portable you need the laser to be and how long your typical projects last.