10 Best Painter's Tapes
From leading brands and best sellers available on the web.By clicking on a link to a third party's website, log data is shared with that third party.

Related Products


Buying Guide for the Best Painter's Tapes
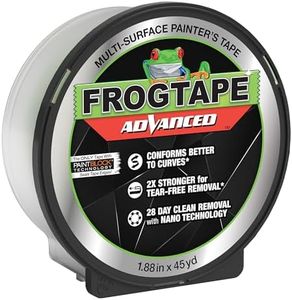
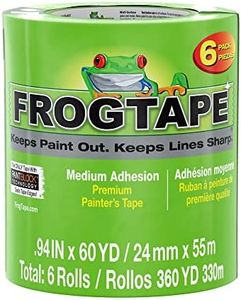
Choosing painter's tape might seem simple, but the right tape can make the difference between clean paint lines and a messy result. Painter's tape is specially made to prevent paint from bleeding under the tape edges, and it's gentle enough to protect surfaces from damage when removed. To choose the right tape, you should consider where you'll use it, how long it needs to stay in place, and what surface you'll apply it to. Each tape has specific features that suit different needs, and understanding these will help you get the best finish for your project.Adhesion LevelAdhesion level tells you how strong the tape's stickiness is. It's important because different surfaces and projects need different strengths; too little and the tape can peel off early, too strong and it can damage surfaces or leave residue. Painter's tapes usually fall into three categories: low, medium, and high adhesion. Low adhesion is great for delicate surfaces like wallpaper or freshly painted walls. Medium adhesion works well for cured painted walls, wood, or glass, balancing grip and safe removal. High adhesion tapes are for rough or outdoor surfaces such as brick or stucco. To pick the right one, think about the surface you’ll be taping: delicate needs gentle stickiness, while textured or tough surfaces need stronger adhesion.
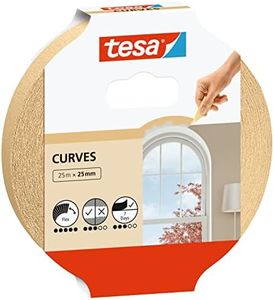
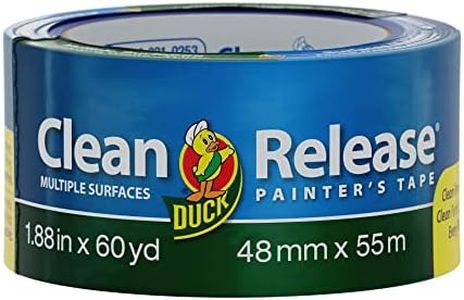
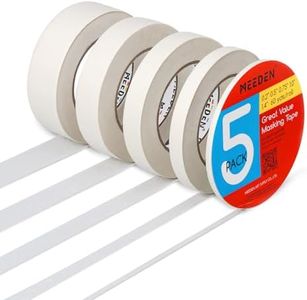
WidthTape width affects both coverage and control. Wider tape gives you more protection and is good for covering wide edges or protecting larger areas. Narrow tape, on the other hand, is easier for detailed work, tight spaces, or curvy lines. Painter’s tapes come in several widths, commonly ranging from about half an inch to two inches. Choose narrower tape for precise work like trim, stripes, or corners, and wider tape to cover baseboards, windows, or large gaps.
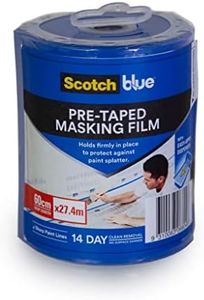
Clean Removal TimeClean removal time means how long the tape can stay on a surface before it risks leaving residue or damaging the finish when pulled off. Tapes are labeled with times like 1 day, 7 days, or even 21 days. Shorter clean removal times are for quick projects, while longer ones allow you to leave tape up through extended painting and drying. If you work quickly and remove tape soon after painting, a short-duration tape might be all you need. If your project will take days or you're taping delicate surfaces, pick a tape with a longer clean removal rating.
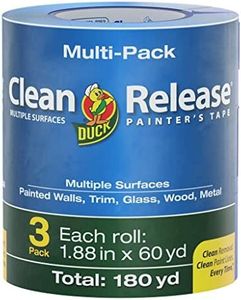
Surface CompatibilitySurface compatibility tells you what materials the tape is safe and effective on. Tapes are specifically designed for surfaces such as drywall, glass, wood, metal, or brick. This matters because the wrong tape can peel paint, leave sticky residue, or not adhere properly. As you choose, look for guidance on the packaging about what surfaces it’s meant for. Select a tape that matches the main material in your project, and for mixed surfaces, pick the tape recommended for the most delicate area.
UV and Moisture ResistanceUV and moisture resistance describe the tape’s ability to withstand sunlight and damp conditions without degrading, peeling, or leaving residue. This is important for outdoor or sunlit projects; regular tape can break down or become difficult to remove if exposed for too long. Painter’s tapes range from little to excellent resistance. If you’re working outside or in a sunny window, look for tapes stating UV or weather resistance—these can handle sun and dampness for days or even weeks. For indoor work away from windows, this is less of a priority.